This guide will show you how to publish events with Smoke Signal by using locations you’ve already saved in BeaconBits.
Getting Started: Your Internet Handle
To publish events to the ATmosphere, you need an internet handle. If you use Bluesky, you already have one. If not, go to bsky.app and create a basic profile.
Your handle is your identity for all ATProtocol apps, so you’ll use the same account for both BeaconBits and Smoke Signal.
Step 1: Save Your Locations in BeaconBits
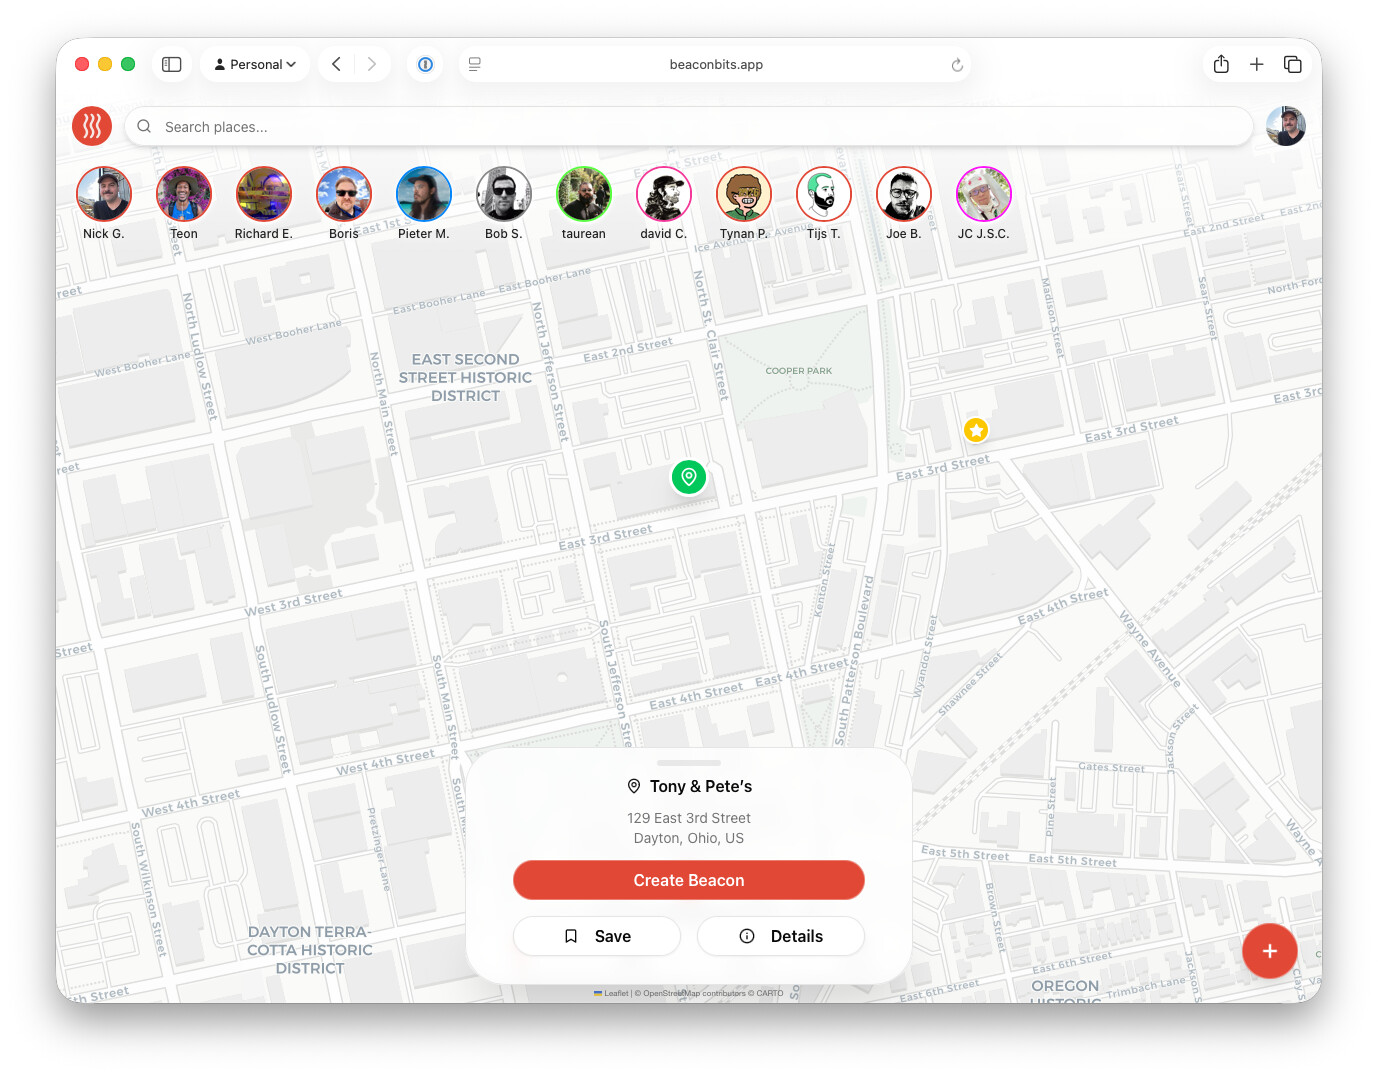
Visit beaconbits.app and sign in with your internet handle.
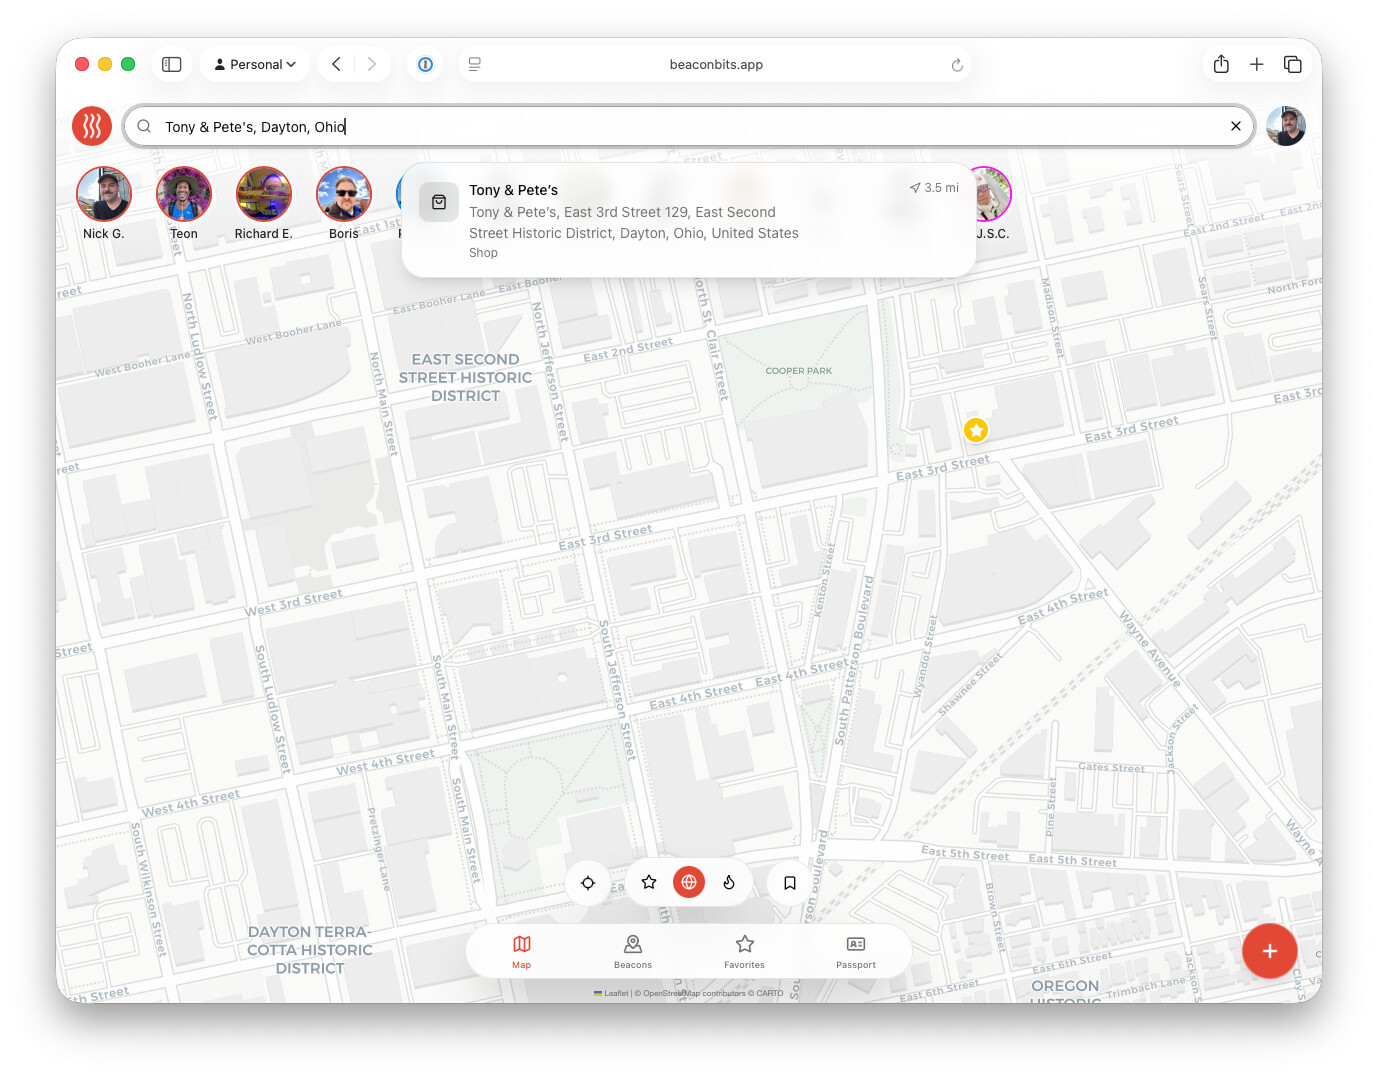
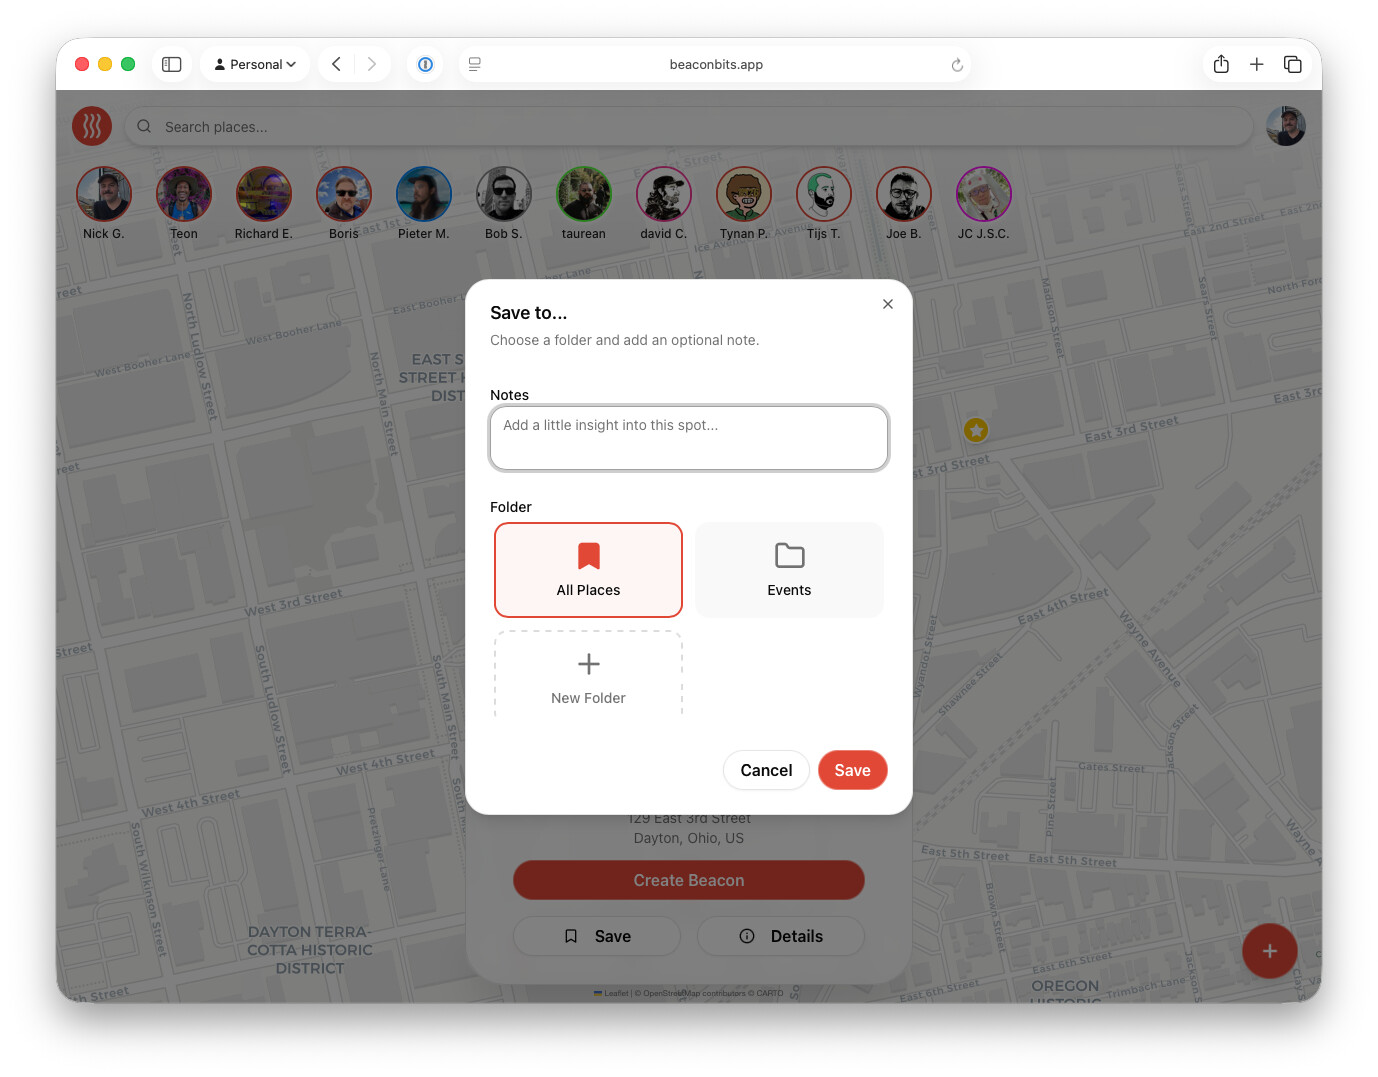
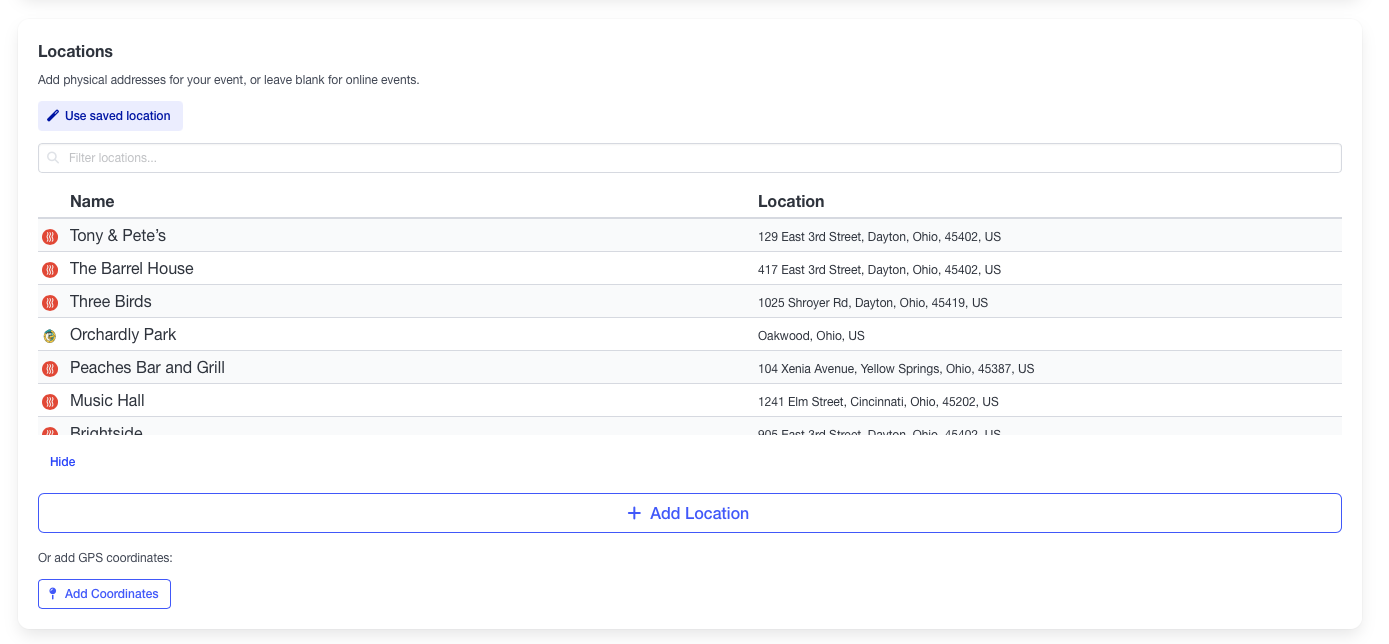
BeaconBits lets you save locations easily so you can use them for different events. Use the search bar at the top to find a venue, park, or address. When you find the right place, click the save button, which looks like a small bookmark.
Save as many locations as you want. They’ll all be ready for you when you create events in Smoke Signal.
Step 2: Set Up Your Smoke Signal Profile
Visit smokesignal.events and sign in with your internet handle.
If this is your first time logging in, you’ll first need to do a few things:
-
Confirm your email address
-
Update your profile by clicking the button next to logout (it shows “@your_handle”)
On your profile page, you can click the “Settings” button or go straight to https://smokesignal.events/settings.
Take a moment to make your profile look good. This helps build trust with people who find your events.
Step 3: Create Your Event
Click the “Add Event” button, or go straight to smokesignal.events/event.
Fill in the basic details:
-
Title: Make sure it’s clear and descriptive
-
Description: Let people know what to expect (see formatting tips below)
-
Start and End Times: When your event will take place
-
Additional Links: Add tickets, registration, or related pages
Formatting Your Description
You can use rich text formatting in your event description, and it will turn into clickable elements:
| Format | Example | Usage |
|---|---|---|
| Mentions | @ngerakines.me | Tag organizers, venues, or collaborators |
| Tags | #SwingDancing | Help people discover your event by topic |
| Links | https://example.com | Direct people to tickets or more info |
Tip: For tags with more than one word, capitalize each word (like #BattleOfTheBands). This makes them easier for screen readers and accessibility tools.
Use the “Edit | Preview” toggle to check how your description will appear to attendees.
Adding a Location
Click “Use Saved Locations” to see the list of places you saved in BeaconBits. Then, click a location to add it to your event.
Most locations will add both an address and GEO coordinates. Keep both. The address helps people find the venue, and the GEO data makes your event show up in location-based searches.
Step 4: Publish and Share
Click “Create Event” at the bottom of the page to publish your event to the ATmosphere.
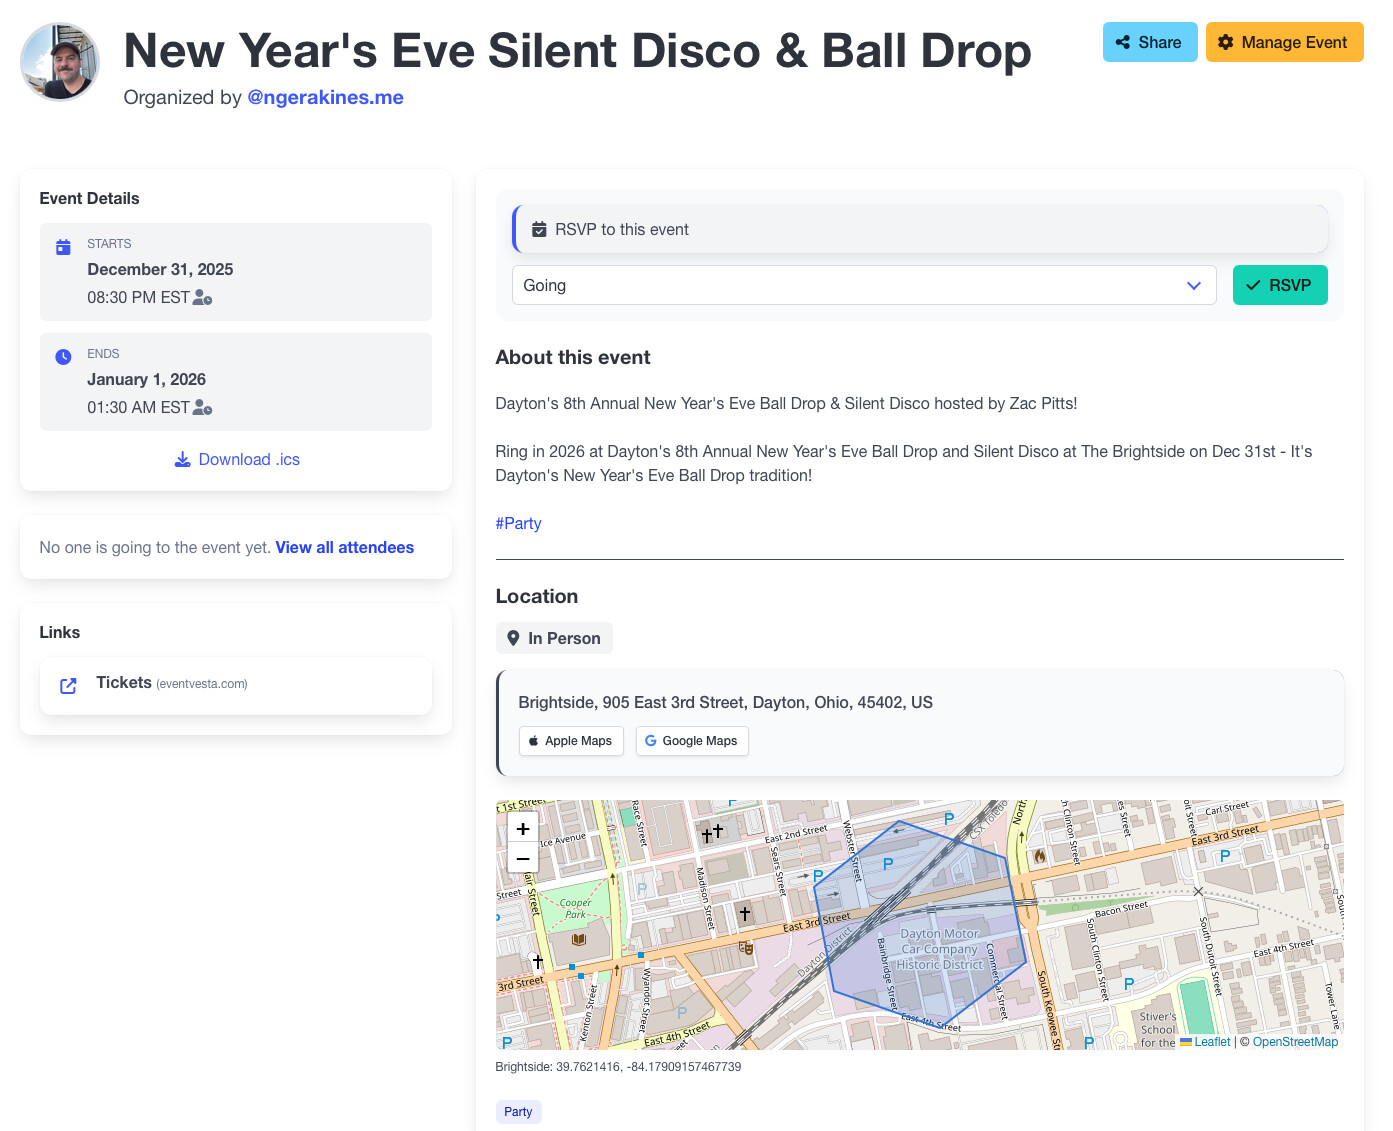
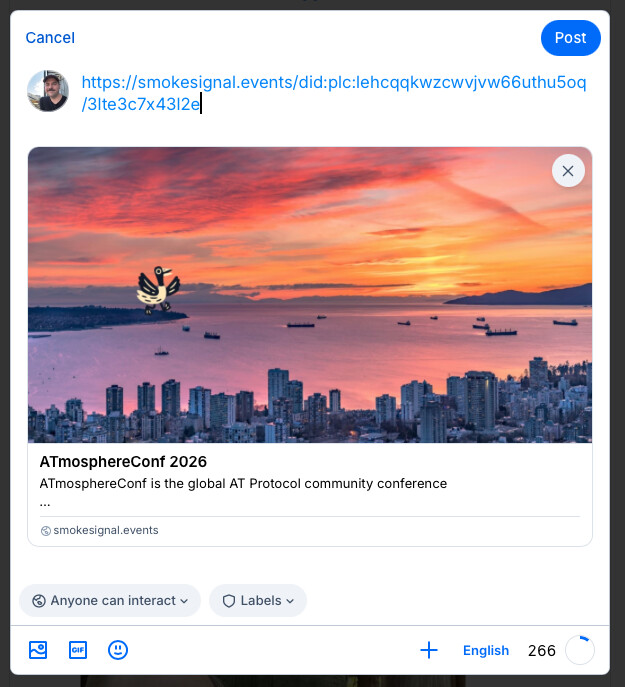
When you share your event link, the preview will show: include:
-
Your event title
-
A portion of the description
-
Your header image (if you’ve uploaded one)
Pro tip: Upload a header image with a 3:1 aspect ratio. This gives you the best-looking link previews when you share on social media.